Introduction:
When it comes to renovating or rejuvenating your living space, one of the crucial steps is often overlooked – floor preparation. Whether you’re removing old flooring, adhesive residues, or preparing the surface for a new installation, a floor scraper is an indispensable tool in your arsenal. In this guide, we’ll delve into the art of using a floor scraper effectively, ensuring your flooring project is a smooth and successful endeavor.
Choosing the Right Floor Scraper:
Before diving into the scraping process, it’s crucial to choose the right tool for the job. Floor scrapers come in various types, including handheld scrapers, stand-up scrapers, and ride-on scrapers. The choice depends on the size of the project, the type of flooring material, and your personal preferences. Consider the blade type as well, as different blades are suitable for various materials.
Safety First:
Before you start scraping away, prioritize safety. Equip yourself with personal protective gear, including safety glasses, gloves, and knee pads. If you’re dealing with older flooring materials, check for the presence of asbestos and take the necessary precautions.
Preparing the Area:
Clear the workspace of any furniture or obstacles that might hinder the scraping process. Sweep or vacuum the floor to remove loose debris and make the surface as clean as possible. This ensures that the scraper can work efficiently and prevents unnecessary wear and tear on the tool. for more vist how to use a floor scraper .
Techniques for Effective Scraping:
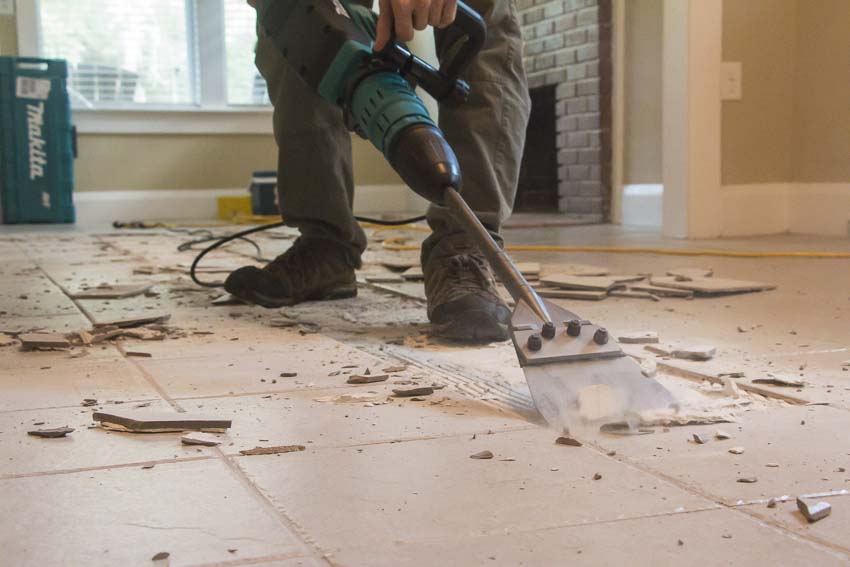
- Angled Approach: Hold the scraper at a slight angle, around 10-20 degrees, to the floor surface. This allows the blade to get under the material and lift it away more easily. Experiment with the angle to find the most effective position for the specific flooring material you’re working on.
- Use Body Weight: Apply firm and consistent pressure with your body weight to the scraper. This helps the blade to penetrate and lift the flooring material efficiently. However, avoid excessive force, as it may damage the subfloor.
- Work in Sections: Divide the floor into manageable sections and focus on one area at a time. This approach makes the task more manageable and allows you to maintain better control over the scraper.
- Overlap Strokes: When scraping, overlap each stroke slightly to ensure complete coverage and prevent missing any adhesive or residue. This method ensures a thorough job and a smoother finish.
- Adapt to Material Differences: Different flooring materials may require different techniques. Adjust your approach based on whether you’re dealing with tile, linoleum, carpet, or any other material. Some materials may come up in large chunks, while others might require more finesse.
Cleaning Up:
Once the scraping is complete, remove the lifted material promptly to avoid any hindrance to your progress. Clean the floor thoroughly, removing any remaining adhesive or debris. This step prepares the surface for the next phase of your flooring project, be it installation or additional preparation.
Conclusion:
Mastering the use of a floor scraper is an essential skill for any DIY enthusiast or professional in the realm of home improvement. By choosing the right tool, prioritizing safety, and employing effective scraping techniques, you can transform a seemingly arduous task into a manageable and successful venture. With the right approach, your flooring project will not only be aesthetically pleasing but also stand the test of time. Happy scraping!
Leave a Reply